How To Use KineMaster
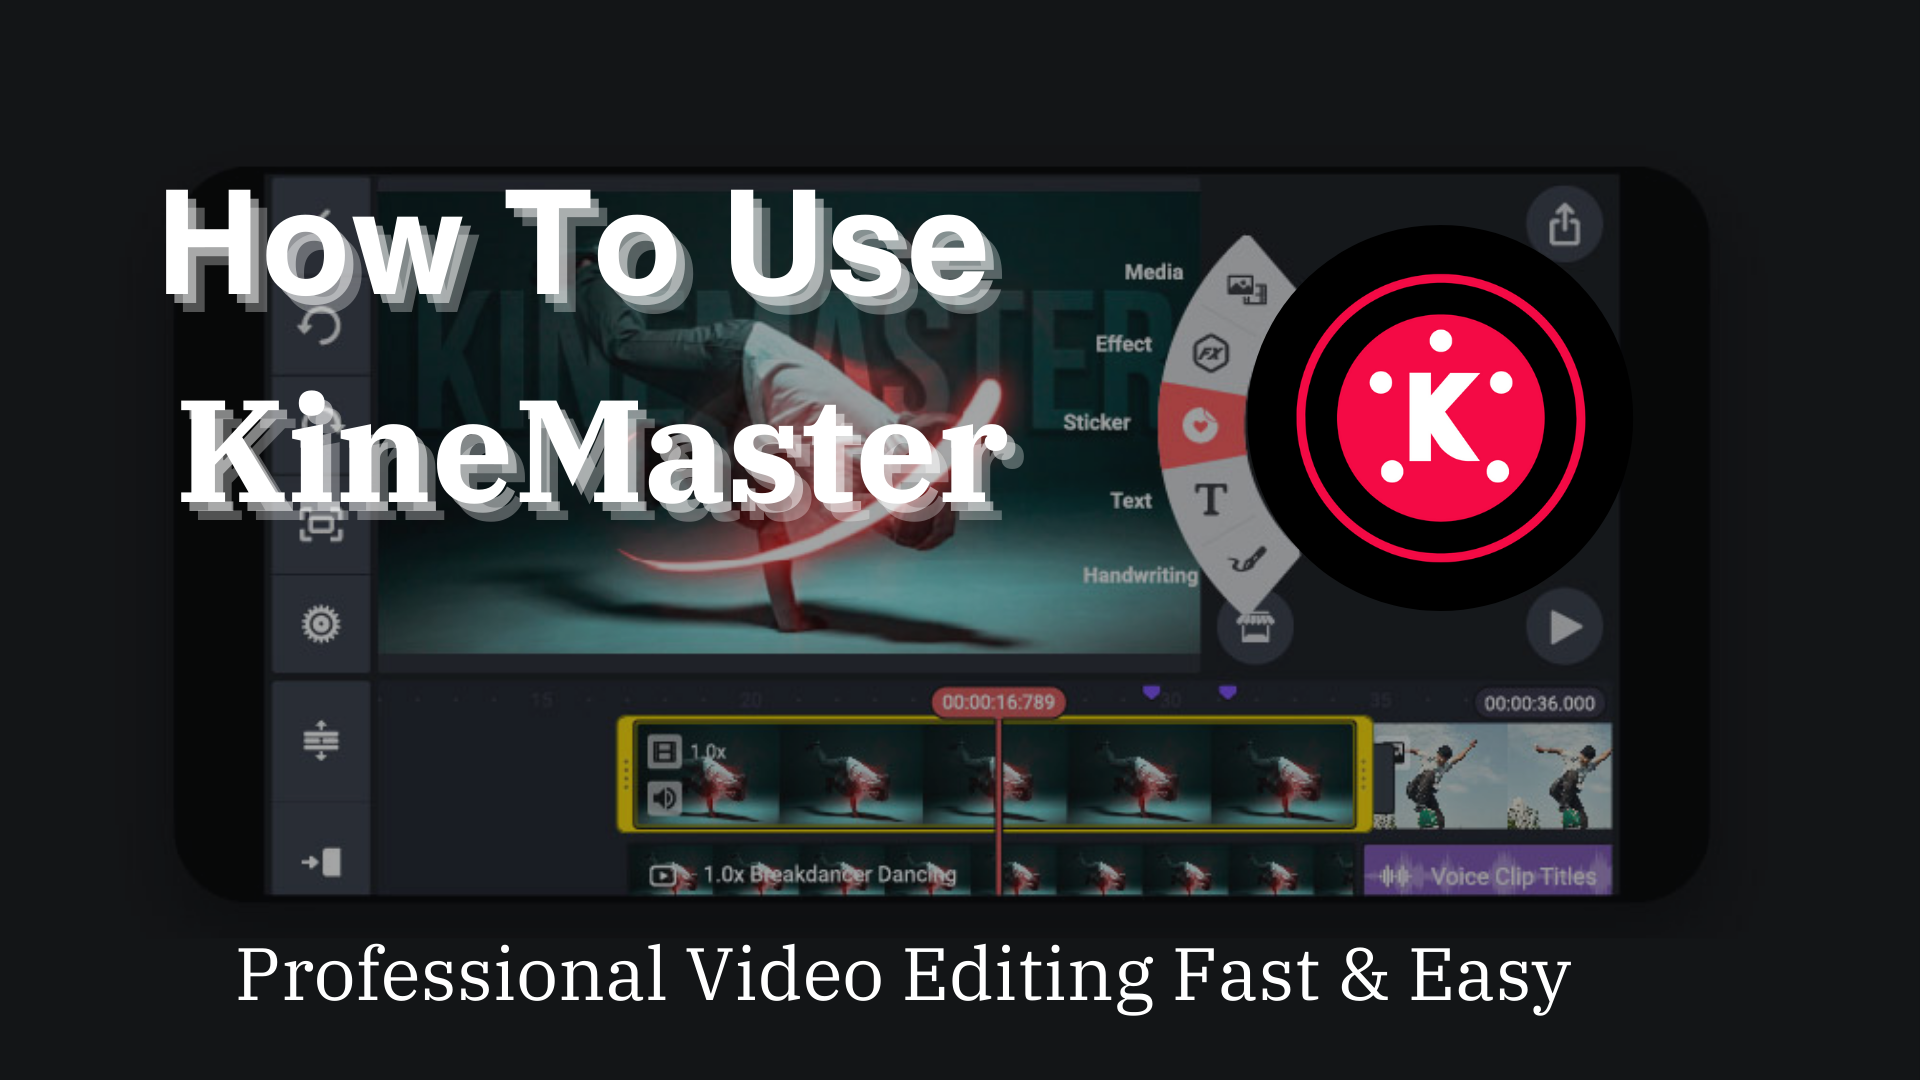
How to use webp

Sequential Instructions

KineMaster is a versatile tool for video editing, suitable for a wide range of users including content creators, social media influencers, educators, businesses, and enthusiasts looking to create professional-quality videos directly from their mobile devices.

Step 1: Download and Install Kinemaster

  • Open the Google Play Store (for Android) or Apple App Store (for iOS).
  • Search for “Kinemaster” and tap on the app.
  • Tap “Install” or “Get” to download and install the app on your device.
  • Once installed, open the app by tapping on its icon.

Step 2: Launch KineMaster

  • Tap on the Kinemaster icon on your device’s home screen or app drawer to launch it.

Step 3: Create a New Project

  • Upon opening Kinemaster, you’ll see the option to start a new project.
  • Tap on the “+ New Project” button to create a new project.
  • Give your project a name and choose the aspect ratio according to your project(16:9 for widescreen for videos, 9:16 for vertical videos, 1:1 for social media, etc.).
  • Tap “Create” or “OK” to confirm and enter the editing interface.

Step 4: Import Media

  • Tap on the “Media” button (looks like a square with a plus sign) to import media files.
  • Browse through your device’s storage to locate the files you want to add to your project.
  • Select the files (videos, images, audio) you wish to import and tap “Import” or “Done”.

Step 5: Add Media to the Timeline

  • Once imported, your media files will appear in the media browser at the bottom of the screen.
  • Tap and hold on to a media file, then drag it to the timeline to add it.
  • Arrange the clips in the desired order by dragging them left or right along the timeline.
  • By holding your fingers in a pinch gesture you can adjust the duration of your clip in the timeline.

Step 6: Edit Media

  • Tap on a media clip in the timeline to select it.
  • Use the editing tools above the timeline to perform various edits
  • Trim: Drag the edges of the clip to trim its duration.
  • Split: Tap on the scissor icon to split a clip into two segments.
  • Crop: Tap on the crop icon to crop the clip.
  • Speed: Tap on the speedometer icon to adjust the speed of the clip.
  • Effects: Tap on the magic wand icon to apply visual effects to the clip.
  • Make adjustments as needed and preview the changes by tapping the play button.

Step 7: Add Transitions

  • Tap on the “Transitions” button (looks like two triangles) to access transition effects.
  • Browse through the available transitions and tap on one to select it.
  • Drag the selected transition between two clips on the timeline to apply it.

Step 8: Add Audio

  • Tap on the “Audio” button (which looks like a music note) to add background music or sound effects.
  • Import audio files from your device’s storage or select from Kinemaster’s built-in audio library.
  • Drag the audio file to the timeline below the video clips.
  • Adjust the volume level and trim the audio clip as needed.

Step 9: Preview and Adjust

  • Use the playback controls (play, pause, rewind, fast forward) to preview your project.
  • Make any additional adjustments to timing, effects, transitions, and audio levels as necessary.

Step 10: Save and Export

  • Once you’re satisfied with your video, tap on the “Export” button (usually located in the top-right corner).
  • Choose the export settings such as resolution, quality, frame rate, and file format.
  • Tap “Export” or “Save” to begin rendering and saving your video to your device.

Step 11: Share your video

  • After exporting, you’ll have the option to share your video directly to various social media platforms like YouTube, Facebook, Instagram, Tictock, etc.
  • Select the platform you want to share to, follow the prompts to log in if necessary and complete the sharing process.

That’s a detailed step-by-step guide on how to use Kinemaster to create and edit videos on your mobile device. Remember to explore the app further to discover additional features and tools for enhancing your videos.